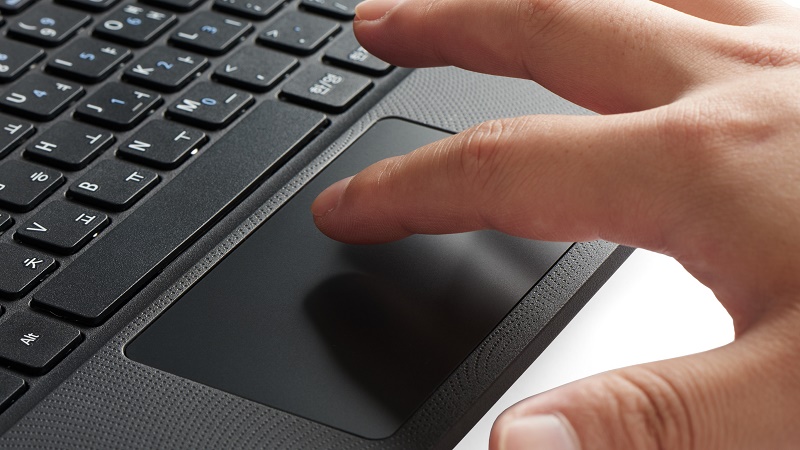
If you are formatting or reinstalling the Windows 10 operating system on your Acer Aspire laptop and you have noticed that the TouchPad does not work for any reason, do not worry you did not make any mistakes during the installation, since this problem lies in the configuration of the Bios of your Acer Aspire. That’s right, all you have to do is configure the touchpad section that is in the Acer touchpad driver. By entering serial number or model name of your Acer laptop, download the driver.
This is because this option is in the “Advanced” state and that is why the TouchPad of your Acer Aspire computer does not work, but now you should not worry anymore because here we have the solution, we just have to configure the status of the touchpad of your Acer Aspire. After performing the Windows installation on our Acer Aspire you can not use the TouchPad, because very simple does not do more than to enter the Bios of our computer and solve it from there.
Here we will explain step by step how to unlock the TouchPad of your Acer Aspire computer. So, you can use it normally. Without anything else to say let’s start with this little tutorial.
How to remove the Acer Aspire TouchPad lock with Acer touchpad driver
Access the Bios of the computer (Acer Aspire). The first thing we must do is enter the Bios, this is achieved in two ways, the first way is achieved as follows:
Turn off the computer completely. If it does not work your TouchPad can support you with a Mouse connected via USB to your computer.
Turn on the equipment. When the screen with the Acer logo appears, press the F2 key immediately, or the Delete key if you have a desktop computer, to access the BIOS.
The second method is also quite simple since all you have to do is the following:
- Write settings in the search box of the taskbar and press Enter.
- Select Update and security.
- Click Recovery.
- Under Advanced Start, click on Restart now. The computer will reboot and present the Windows 10 boot menu.
- Select Troubleshoot.
- Select Advanced options.
- Select UEFI Signature Configuration.
- Click on Restart to restart the computer and enter the UEFI (BIOS).
Change the status of the TouchPad
Once we are inside the BIOS, we will go to the “Main” option, once inside the Main option. We will look for the “TouchPad” option (as you can notice this option is in the “Advanced” state, what we will do is change to “Basic” status), press “Enter”, a small menu will be displayed where we select the “Basic” option.
NOTE: If the TouchPad option is not on the menu, it is because your computer’s BIOS is out of date, so you will have to update the BIOS of your Acer Aspire.
Save Changes and restart the computer
Once we have done the previous step, the next thing we will do is save the changes we have made for it, press the “F10” key to save the changes and exit, once our machine is done it will restart and now you will be able to use the TouchPad of your computer normally.
And it’s that simple now you can use the TouchPad of your computer, as you can realize the process is very simple. If you liked this article do not forget to share it with your friends and on your social networks to get Acer touchpad driver to solve touchpad problems.


